Sunday, December 4, 2016
How To Record System Sound With Pulse Audio And Audacity In Linux
How To Record System Sound With Pulse Audio And Audacity In Linux
Ever wanted to record whatever you played on your speakers directly to an MP3 file? Out of the three operating systems, Linux has the most fool-proof process (by way of the Pulse Audio sound server). This sound server, though initially unpopular, is now almost universally praised. In fact, it can perform some advanced functions and can be manipulated to do almost anything you could possibly think of.
Recording system audio is done by combining two awesome Linux programs. The first being Pulse Audio Volume Control. The second is Audacity. Both programs should be in your distributions software repository.
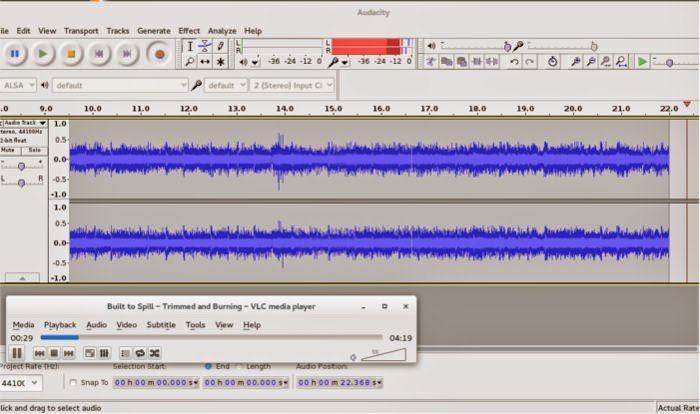
Now that the dummy track has been removed, it’s time to test system recording. Audacity is now enabled to record any/all sound that plays on your Linux machine. It doesn’t matter what program it is. All programs that produce sound will have to interact with the Pulse Audio sound server.
Play some audio on your computer. It could be a YouTube video, an MP3 file or just about anything in-between. Once the audio has started playing through your speakers, go into Audacity and hit the record button. Audacity is now recording your system audio.
I Hope This Article Helps You If You Getting Any Problem Related To This Article You Can Comment By Below Comment Box We Will Help You And If You Need Any Trick Or Software Or Hack You Can Mail Us We Will Try To Give That Article We Happy To Help You All Guys.Thank You Share And Subscribe Us. #Pankaj Patidar Rock

Recording system audio is done by combining two awesome Linux programs. The first being Pulse Audio Volume Control. The second is Audacity. Both programs should be in your distributions software repository.
Installing Audacity and Pulse Audio Volume Control
Ubuntu
sudo apt-get install audacity pavucontrol
Fedora
sudo yum install audacity pavucontrol
OpenSUSE
sudo zypper install audacity pavucontrol
Arch
sudo pacman -S install audacity pavucontrolIf your distribution is not in the list above, you should still be able to find Audacity and Pulse Audio in the software repository. Just search for “audacity” and “pavucontrol” with your package manager and install them!
Recording
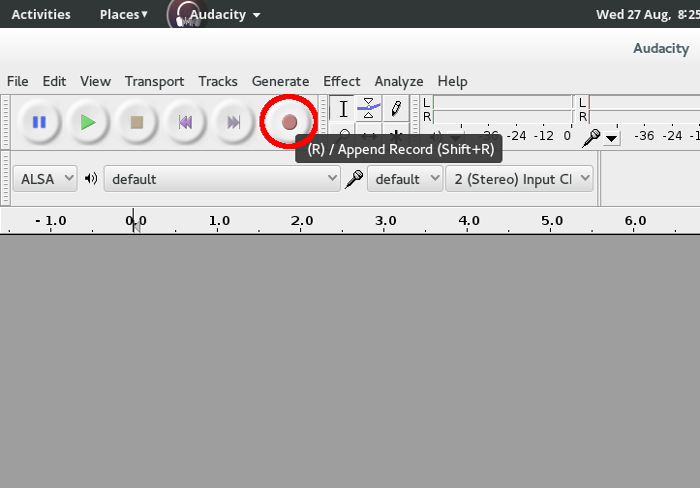
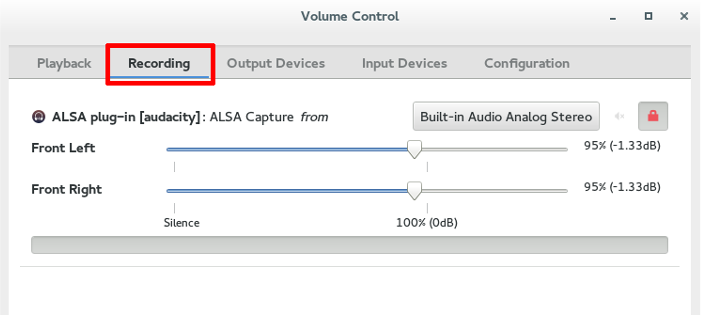
Open up both Audacity and Pulse Audio Volume Control. In Audacity, press the red record button.With Audacity now recording, move to the Pulse Audio Volume Control program and click on its Recording tab. Since Audacity is currently recording, you’ll notice that the Audacity recording action shows up in the Pulse Audio Volume Control program.
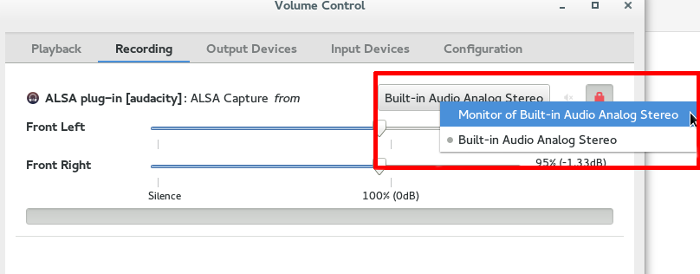
By default, Audacity is recording from a device known as “Built-in Audio Analog Stereo.” This is the default microphone option. It needs to be swapped out to a different device – one that will allow for system-wide audio recording. Click on the “Built-in Audio Analog Stereo” button and change it to “Monitor of Built-in Audio Analog Stereo.” This option essentially turns your speakers into a microphone input for Audacity.
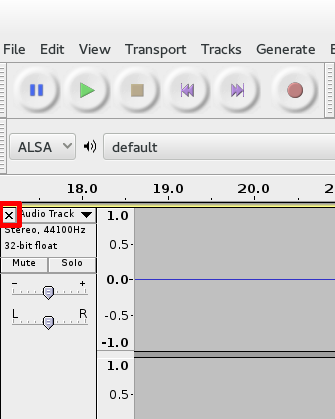
Back to Audacity, press the Stop button to end the recording and click the “X” icon to delete the current track. Don’t worry, Audacity will now use the “Monitor of Built-in Audio Analog Stereo” option for recording until you manually change it back.
Now that the dummy track has been removed, it’s time to test system recording. Audacity is now enabled to record any/all sound that plays on your Linux machine. It doesn’t matter what program it is. All programs that produce sound will have to interact with the Pulse Audio sound server.
Play some audio on your computer. It could be a YouTube video, an MP3 file or just about anything in-between. Once the audio has started playing through your speakers, go into Audacity and hit the record button. Audacity is now recording your system audio.
When you’ve recorded all of the audio you need, press the Stop button to stop the recording process. It’s then possible to edit the newly recorded audio right away. Don’t feel like editing? Just export your new recording in a wide range of codecs.
Dont Forget To Like And Follow..
Available link for download